
 First up, weatherstripping.
 What is it and how does it work?
Weatherstripping stops air leaks by sealing cracks and gaps in the movable parts of your home, such as windows and doors.
How is weatherstripping different from caulking?
It is simple. Weatherstripping is used for moving parts like openable windows, while caulk is the appropriate material for filling cracks and gaps in unmoving parts of your home.
How do I choose which kind of weatherstripping to install?
Evaluate the areas of your home that need weatherstripping and choose a type that will last through the areas weather and potential temperature changes, as well as the wear and tear associated with its location. Choose a product for each specific location. Felt and open-cell foams tend to be inexpensive, susceptible to weather, visible, and inefficient at blocking airflow. However, the ease of applying these materials may make them valuable in low-traffic areas. Vinyl, which is slightly more expensive, holds up well and resists moisture. Metals last for years and are affordable. Metal weatherstripping can also provide a nice touch to older homes where vinyl might seem out of place.
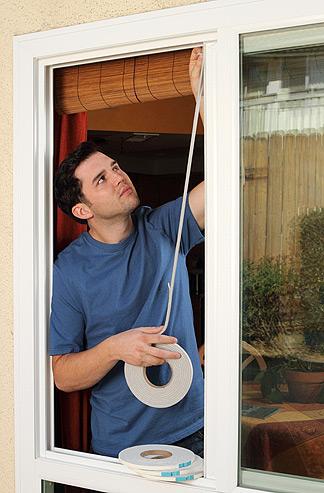
How do I apply the weatherstripping?
To determine how much you will need, measure the perimeter of all the windows and doors you plan on weatherstripping and add 5 to 10 per cent more to account for any waste or mistakes. Consult the instructions on the weatherstripping package. Here are a few extra tips:
- Always apply to a clean and dry surface
- Apply one continuous strip on each side. That means- measure carefully before you cut.
- Select a thickness that causes the weatherstripping to press tightly between the door and door jamb, but doesn't make it too difficult to shut.
For more information and an informative chart detailing where to install which type of weatherstripping, check out http://energy.gov/energysaver/articles/weatherstripping.
Very good post with the step to step explanation about weatherstripping.
ReplyDelete